Creating the Simplest Form of a Button: Click on a Text button to display a message
Code:
import SwiftUI
struct ContentView: View {
var body: some View {
Button(action:{
print("You are here")
})
{
Text("Location")
}
}
}
struct ContentView_Previews: PreviewProvider {
static var previews: some View {
ContentView()
}
}
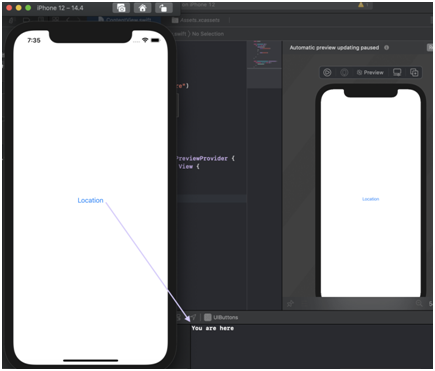
Output:
On running this code, we can click the pin icon on the simulator and the message is displayed on the console:
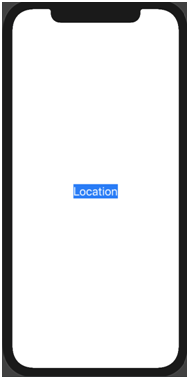
Changing the appearance of the text Button:
Now that we’ve created a simple button with an image, let’s see how we can make it look and feel how might want it to
We can alter the text’s font and add color to the text, and it’s background as shown below
Code:
struct ContentView: View {
var body: some View {
Button(action:{
print("Location")
.background(Color.blue)
})
{
Text("Location")
.font(.title)
}
}
}
Output:
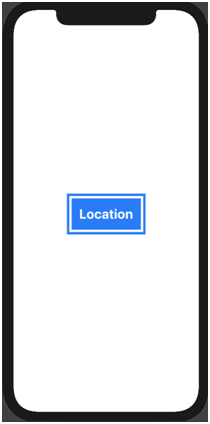
To improve how the button looks let’s add some padding around the text and a border around the button along with changing the font weight. To achieve this we customize the text box as follows-
Code:
import SwiftUI
struct ContentView: View {
var body: some View {
Button(action:{
print("You are here")
})
{
Text("Location")
.fontWeight(.bold)
.font(.title)
.padding()
.background(Color.blue)
.foregroundColor(.white)
.padding()
.border (Color.blue, width: 5)
}
}
}
Output: