One of the most versatile controls in iOS and known largely for making tables in iOS applications scrollable, the ScrollView is the best way to display continuous content that doesn’t fit in a single screen
ScrollViews let us drag the area of the content to view, add pinch gestures for zooming in and out. Here we look at how to create a nested ScrollView with the Interface Builder
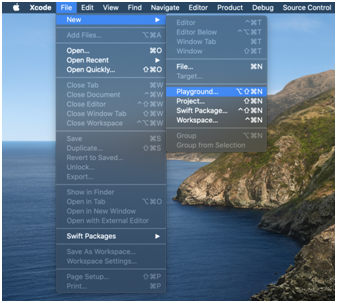
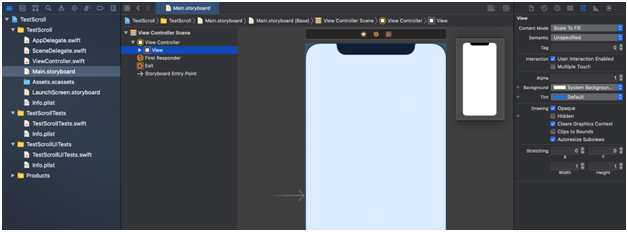
Launch a new project in Xcode from the Launchpad on your Mac. You should see the welcome screen as shown below.


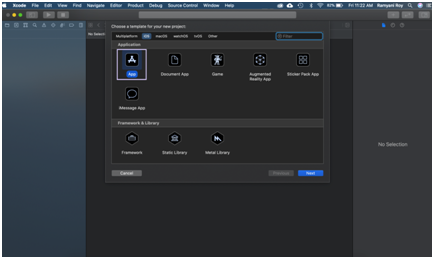
The dialog that pops up allows you to choose a template for your project. For the purposes of this article choose “App” under “Application.”
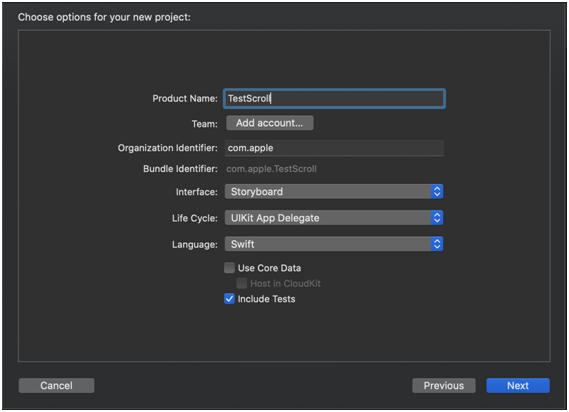
The following dialog box opens up. Here you can name the project CollectionView, choose the type of interface as “Storyboard” and select the Life Cycle as “SwiftUI App” & finally the language you want to continue in as “Swift”.
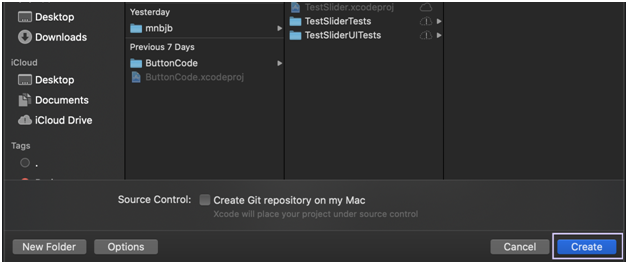
Finally, choose where you’d like to save the file and click create.
In the canvas, next to the code editor, click Resume to display the preview. If it isn’t visible, go to Editor and click Editor and Canvas to view it.Go to the main Storyboard, click on View under ViewControllerScene
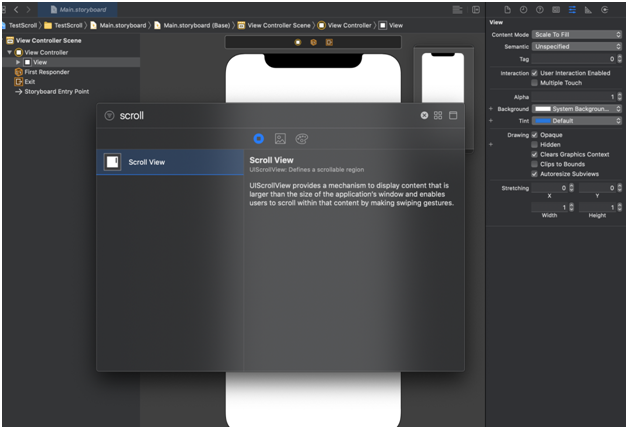
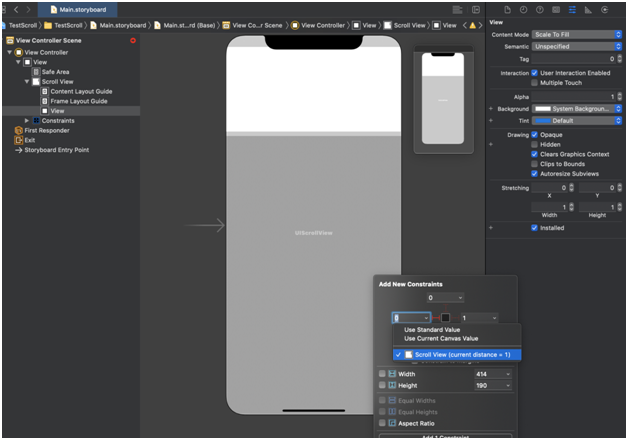
Add a scroll view by searching for it using the “+” sign and dragging an dropping it onto the main storyboard
Stretch it across the screen and add constraints in all directions.
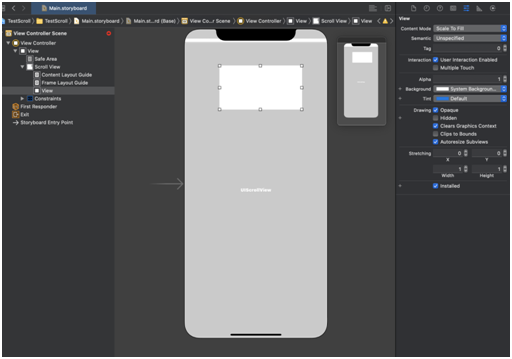
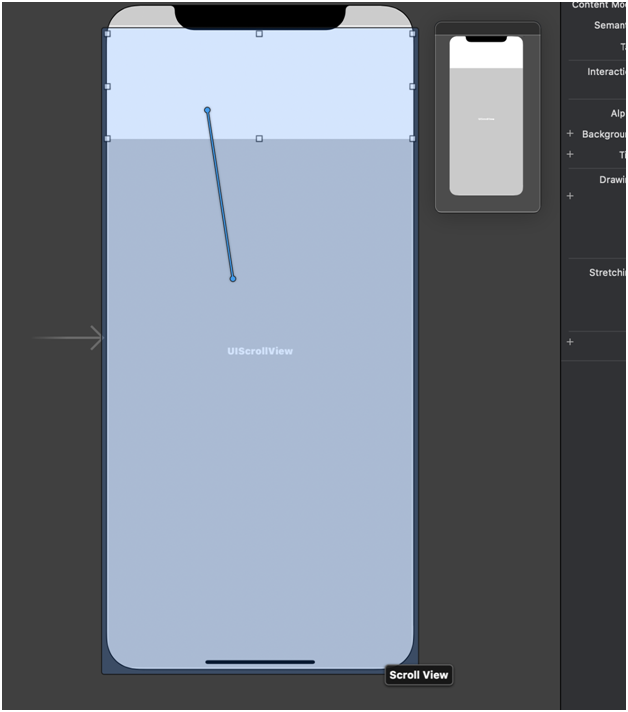
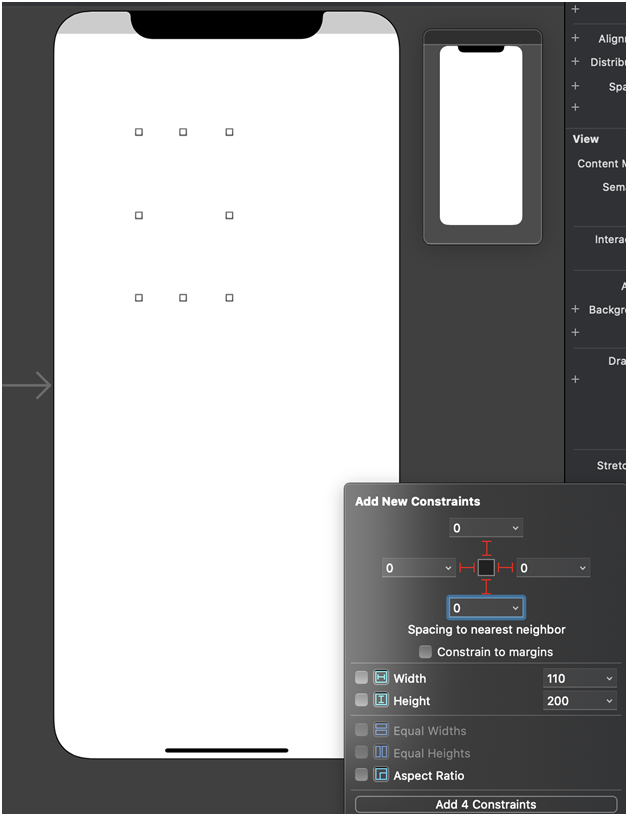
Now add an UIView using command+shift+L search for and drop a UIView on the Scroll View
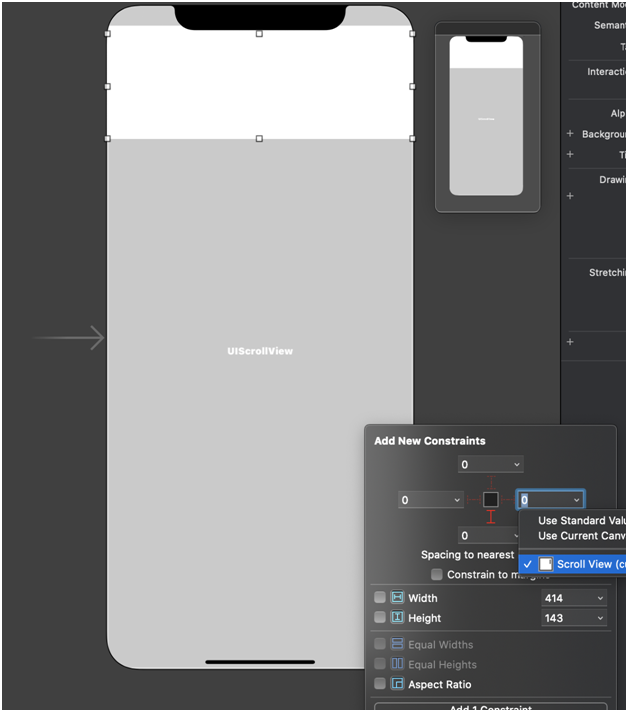
Expand it and add constraints and make it a scroll view using the dropdown menu
To add equal widths, hold down control and drag the mouse down from the UIView to the ScrollView
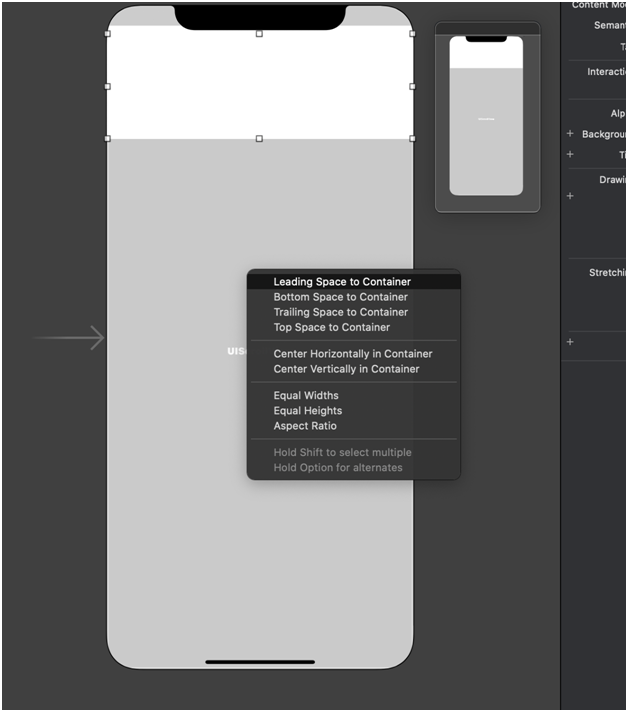
Select Equal Widths
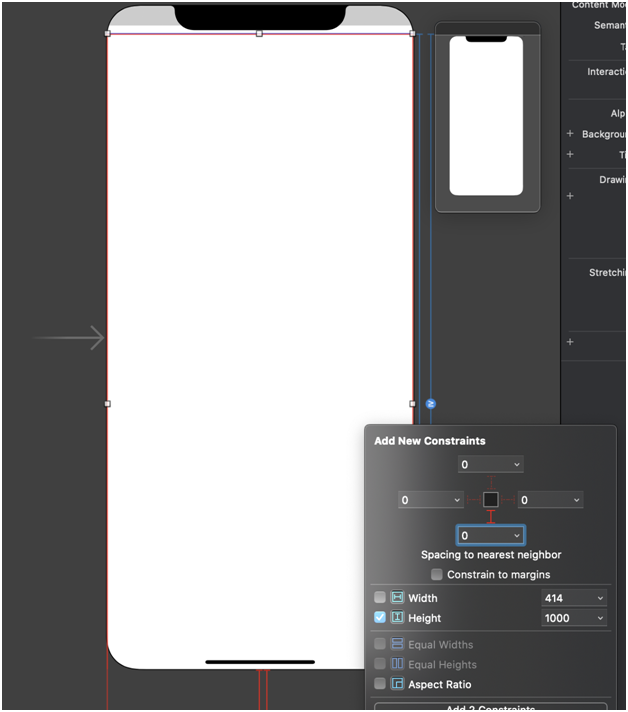
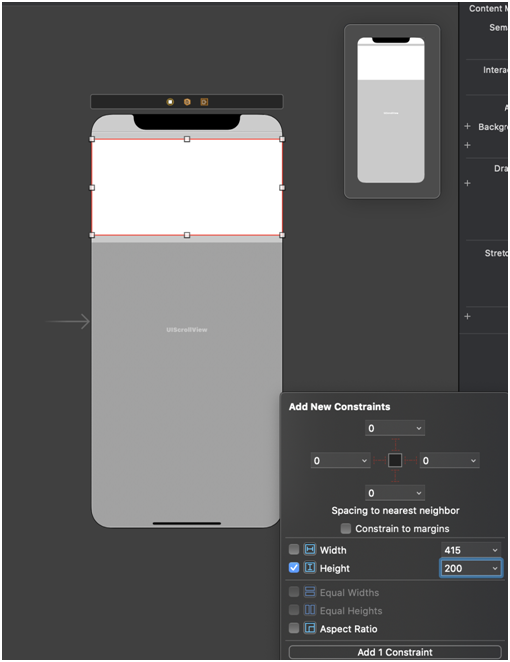
Change the height to 1000
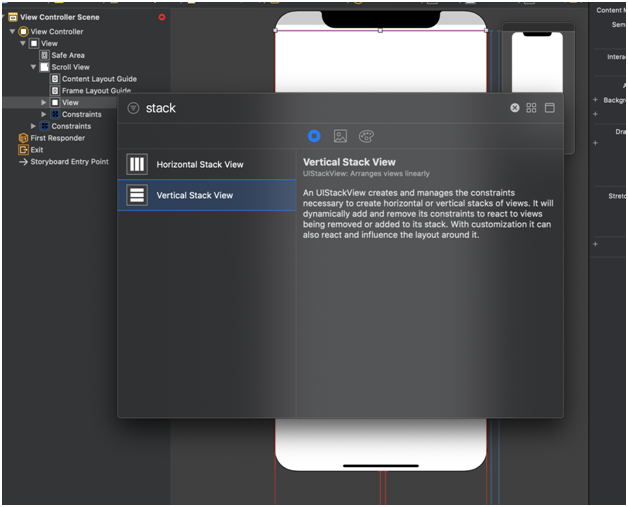
Now let’s add a Stackview from the Library

Add constraints to all four corners
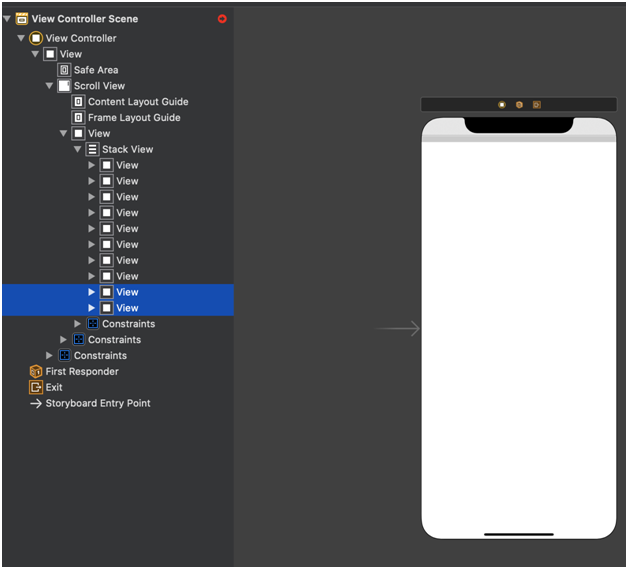
Now add a stack view to the UIView and give it constraints
Duplicate the view to create about 8-10 UIViews within the stack
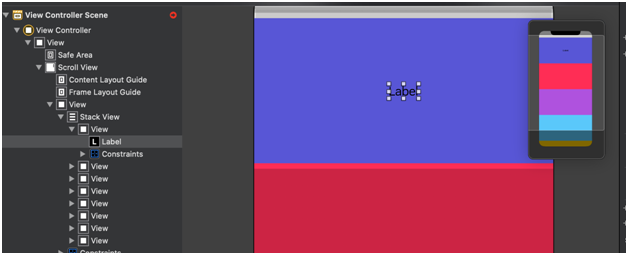
To each view add some colour to identify their boundaries

Finally,
Add a label to each UIView
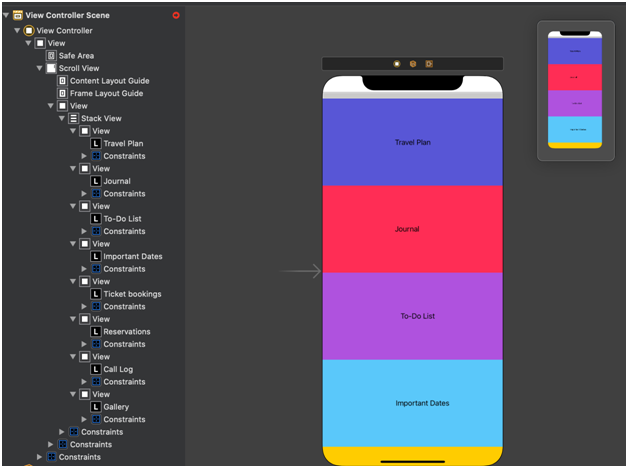
You can adjust heights etc. if required. Finally, run the application to get this scrollable list.
You can add all different kinds of views to the ScrollView like we added the UIView to create an incredibly customised application which is the beauty of the Scroll view.
Scroll views are also used in iOS to create panning zooming gestures in applications.
To do the latter, set the Scroll View’s “delegate” in Storyboard to the Zoomed Photo View Controller. Also, connect the new constraint outlets to the appropriate constraints using the same.