The most basic UI components in iOS applications are either text or images or a combination of known as labels. They are found across the applications in conjunction with other UI Controls like tables etc. Like all swiftUI components, labels can undergo a wide range of customizations and we will explore the same below:
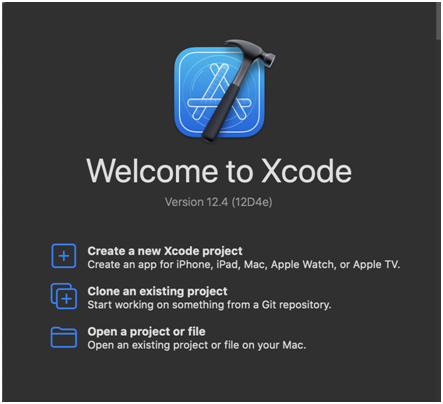
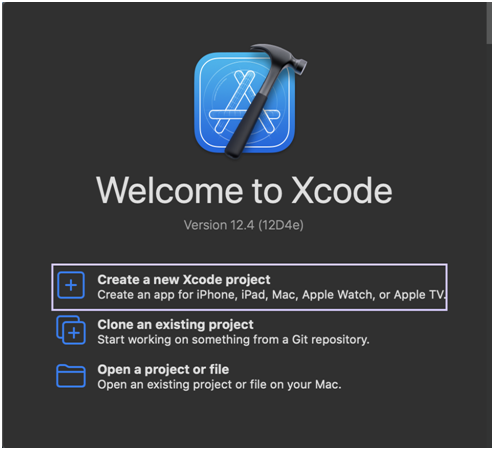
Launch a new project in Xcode from the Launchpad on your Mac. You should see the welcome screen as shown below.
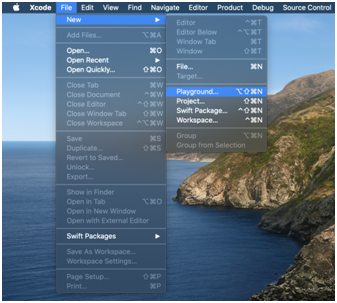
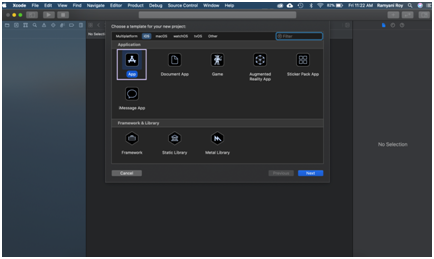
The dialog that pops up allows you to choose a template for your project. For the purposes of this article choose “App” under “Application.”
The following dialog box opens up. Here you can name the project TestLabel, choose the type of interface as “Storyboard” and select the Life Cycle as “SwiftUI App” & finally the language you want to continue in as “Swift”.

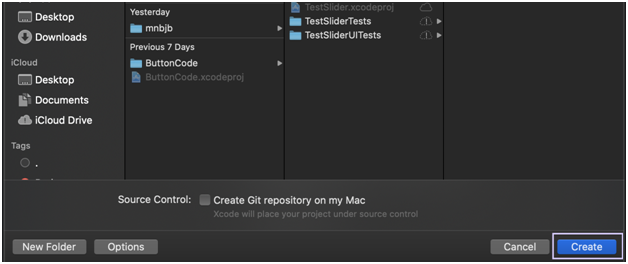
Finally, choose where you’d like to save the file and click create.
In the canvas, next to the code editor, click Resume to display the preview. If it isn’t visible, go to Editor and click Editor and Canvas to view it. From the left hand side of the window, select ContentView.swift and you can create a simple date picker using the following piece of code