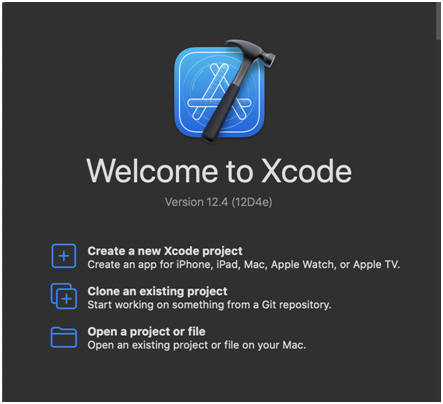
Launch a new project in Xcode from the Launchpad on your Mac. You should see the welcome screen as shown below.
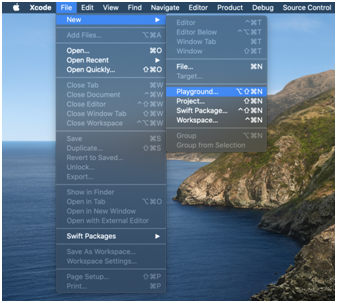

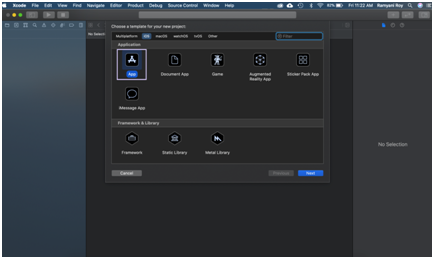
The dialog that pops up allows you to choose a template for your project. For the purposes of this article choose “App” under “Application.”
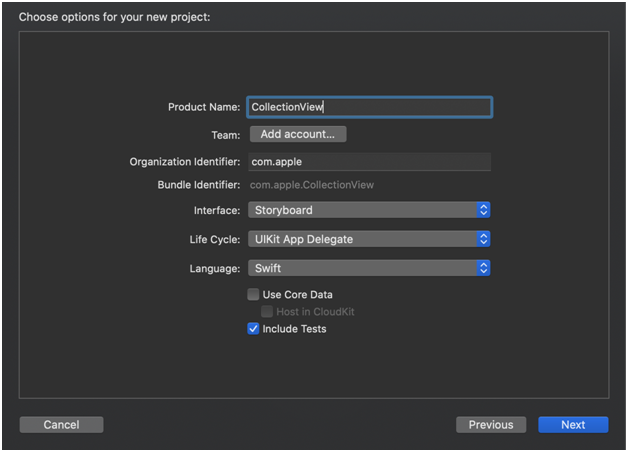
The following dialog box opens up. Here you can name the project CollectionView, choose the type of interface as “Storyboard” and select the Life Cycle as “SwiftUI App” & finally the language you want to continue in as “Swift”.
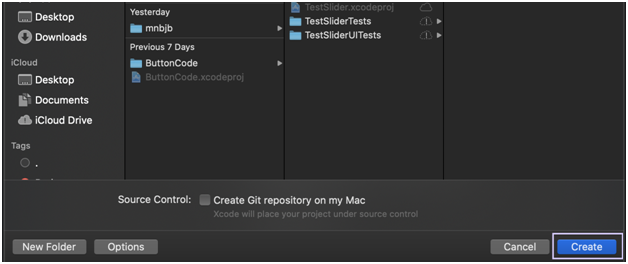
Finally, choose where you’d like to save the file and click create.
In the canvas, next to the code editor, click Resume to display the preview. If it isn’t visible, go to Editor and click Editor and Canvas to view it.
From the left hand side of the window, select ContentView.swift.
Delete the reference file.
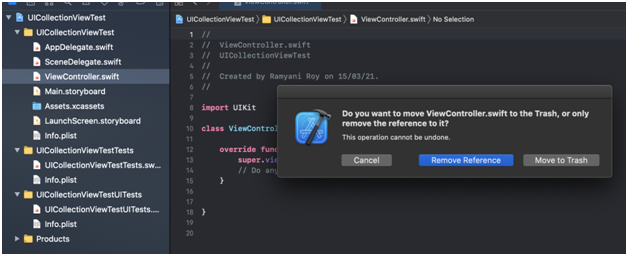
Go to story board and delete the View Controller Scene

From the top right corner use the plus sign to find a Collection View Controller. Drag and drop it into the storyboard.
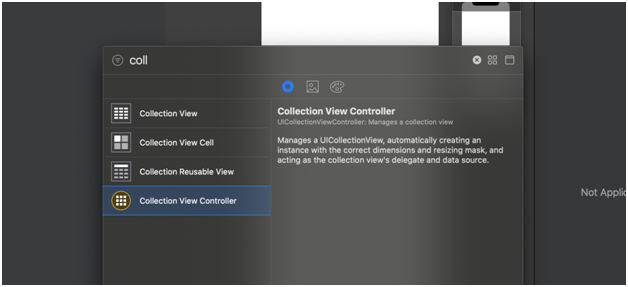
At this point you’ll see a single tiny on the storyboard
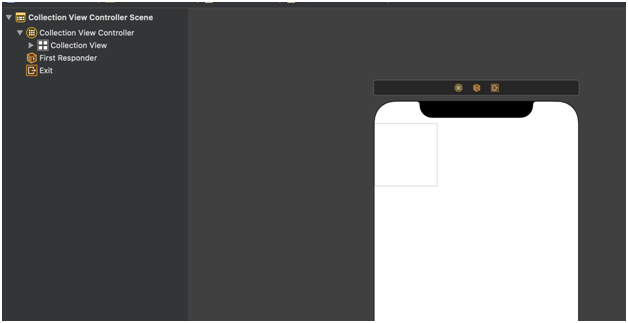
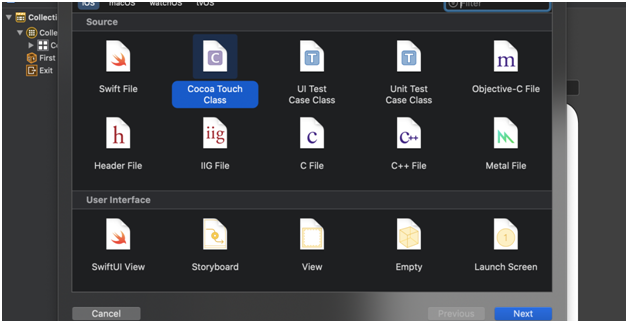
Now we need to create the source code file for this Collection View Controller. Do do so we need to add a Cocoa Touch Class from the New File option
XCode gives it the default name of CollectionViewController and we can go ahead with that. Just make sure it’s a subclass of UICollectionViewController.

At this point XCode inserts a template code for us.
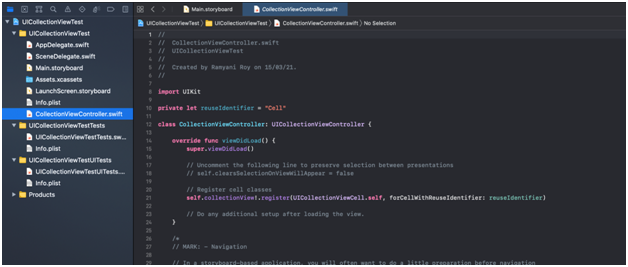
We need to go ahead and remove most of the the code created under CollectionViewController.swift and leave just the following

Now let’s create a Data set for the values in our Grid
Let’s let’s implement some methods allowed under CollectionViews
Going back to the main storyboard As we can see there’s an empty collection view cell class that we need to subclass it so that we can apply customizations to all the cells. To do so, we add another Cocoa Touch Class to the UICollectionViewTest class and make it a subclass of UICollectionViewCell. Let the default name stay.
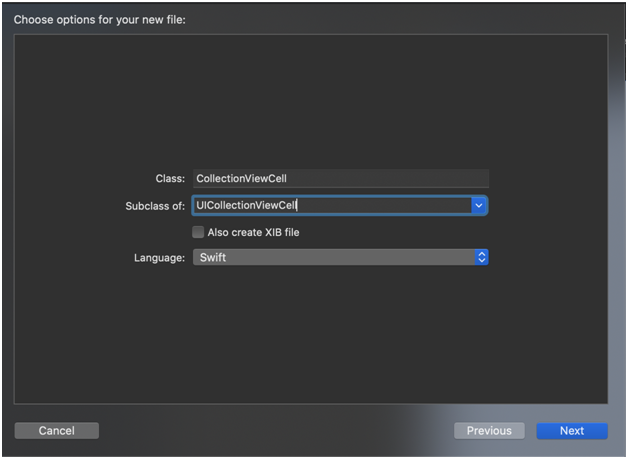
At this point we need to make sure the story board always uses this custom view cell and to use a label for the data we input previously. First we open up the assistant editor from the top right and bring the main storyboard on the other side.
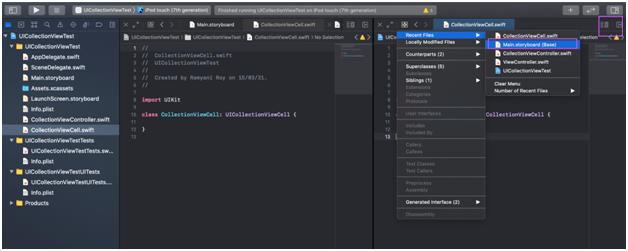
Now we go to the Identity inspector for the Collection View Cell and set Class, under Custom Class to point to our custom subclass by changing it to CollectionViewCell

Now we go to the library and drag and drop a label to the Cell’s content view.
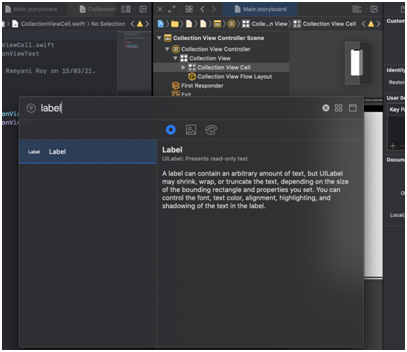
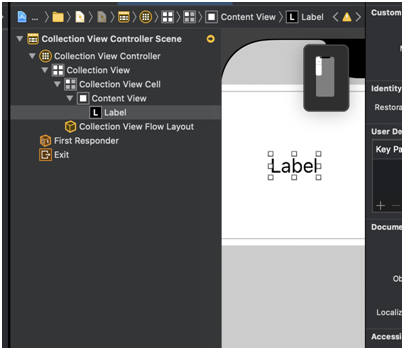
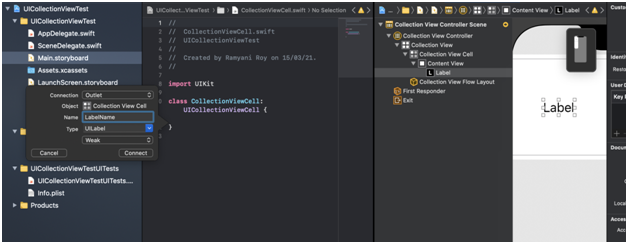
Now we need to create an outlet connection from this label to the cell and name it, say, “LabelName”.

