IOS TOPICS

IOS Introduction
Swift UI Label
Swift UI Button
Swift UI Text Field
Swift UI Slider
Swift UI Switch
Swift UI Stepper
Swift UI Date Picker
Swift UI Segmented Control
Views
Table View
Collection Views
SCROLL VIEW
iOS Content View
iOS View Controllers
iOS Bar interface
iOS Navigation interface
iOS Architect Pattern
iOS Libraries
iOS Web request and parsing
iOS user defaults
iOS Coredata and database

Creating Slider


Creating the Simplest Form of a Slider:

Launch a new project in Xcode from the Launchpad on your Mac. You should see the welcome screen as shown below.

ios output

(If you don’t then go to file>new>playground)

ios output

Click on “Create a new Xcode project

ios output

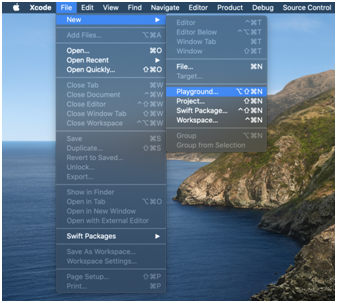
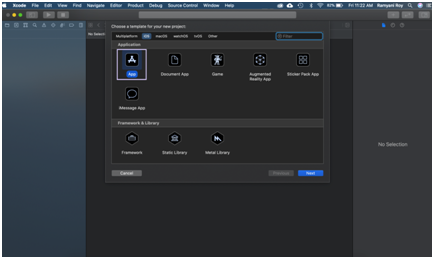
The dialog that pops up allows you to choose a template for your project. For the purposes of this article choose “App” under “Application.”

ios output

The following dialog box opens up. Hereyou can name the project TestSlider, choose the type of interface as “SwiftUI” and select the Life Cycle as “SwiftUI App” & finally the language you want to continue in as “Swift”.

ios output

Finally, choose where you’d like to save the file and click create.

ios output

In the canvas, next to the code editor, click Resume to display the preview. If it isn’t visible, go to Editor and click Editor and Canvas to view it.

From the left hand side of the window, select ContentView.swift and you can create a simple slider using the following piece of code

Code:

import SwiftUI struct ContentView: View { @State var Value : Double = 0 var body: some View { VStack { Slider(value: $Value, in: 0...100) }.padding() } } struct ContentView_Previews: PreviewProvider { static var previews: some View { ContentView() } }

Here “Value” is the variable that stores the value entered.

Output:

ios output